I have decided to just label my street photos of people as "Portraiture".
This somehow takes the sting out of wondering about all the legislation now ruling the taking of photos in public places. Another blast of information has been posted in the Photography Forum in Boards.ie, decrying the death of candid urban photography.
I think I'll just make a simple Rogue's Gallery of the most pleasant moments shared while travelling.
No point in getting in a wax...
Tuesday, March 27, 2012
Saturday, March 3, 2012
Photo Editors
There is so much to learn.
For some time I have been getting good use from Harry's Filters in Irfanview. The burn tool can be very strong, so it is worth looking into the Darken feature, using BW Limiter Pro. It enhances textures in bark and stone.
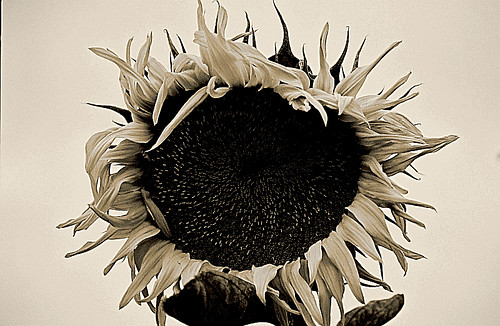
The dramatic toning in this Sunflower was made with the Canon software that came with my Digital Rebel. Learning to use levels and to gently tweak the colour lines in a photo can help pastiche makers a lot.
Labels:
photo editors,
sunflower,
toning
Wednesday, February 15, 2012
Greyscale
Greyscale photos can be flat and lack sparkle.
Post processing is the secret to improving dull images and Irfanview is quick and easy to
use.
Rather than hit the greyscale button, better effects can be achieved by first using the "Color Corrections" function.
Choose settings that make the photo more vivid and using the contrast and gamma functions help to find a more balanced
effect.
Then hit the "Auto adjust colours" button followed by "convert to greyscale"
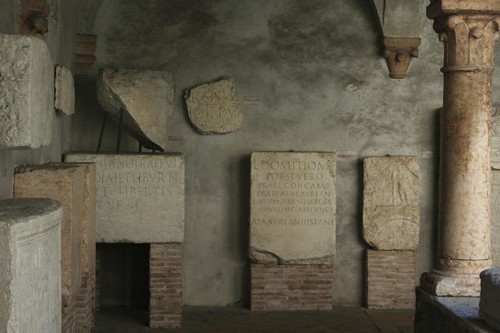
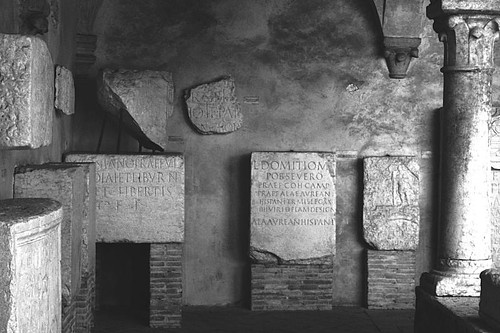
Here is and example of Before and After...
Labels:
auto adjust colours,
greyscale,
Irfanview
Thursday, January 5, 2012
Film EOS
A great advance has just been made in using film as well as digital technologies.
I bought a Canon that did seem nicely made and which the friendly sales person assured me
had been a well regarded EOS slr in its day.
Several days of research and three rolls of film later I'm really pleased with the fineness of the
effect the Canon RT camera ensures. For anybody interested in the history of cameras there are plenty of sites that explain
how the use of a fixed pellicle mirror means a shutter speed that was astonishing in 1989, the date it was launched.
It is very like the EOS 630, which became much more popular, but although I don't shoot sports events, and probably won't
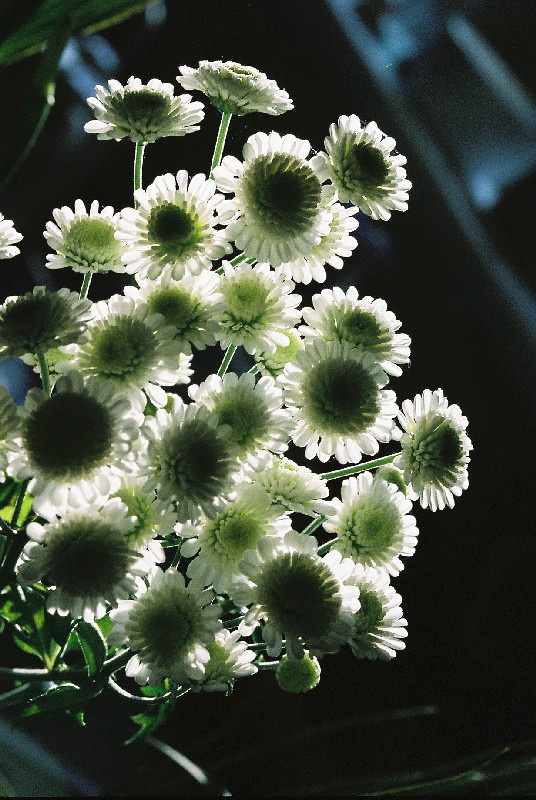
get the best use out of my new gem, the fixed mirror means that flower macros should be very clear and sharp as there is no
mirror slap to cause the slightest ripple.
This has been a steep learning curve as, at last I took bracketing by the horns and set the camera to take
three photos in a row, forgot how to undo it and so found myself with the machine having taken over for a while.
However, it got sorted out and photos of architectural details in particular are very pleasing.
There's a link in the title bar to the photos uploaded so far.
Subscribe to:
Posts (Atom)